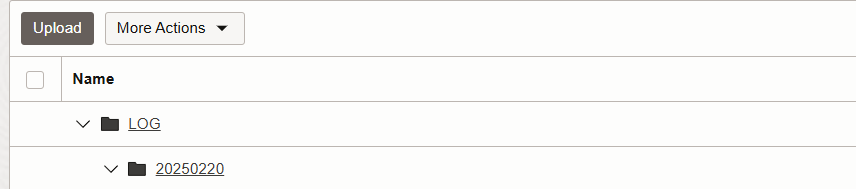
Backup safety is one of the main pillars of database administration. Keeping an external copy guarantees data recovery in case of failure. In this article, we will show how to configure a SQL Server backup using Rclone to send the files to an Oracle Cloud bucket.
Creating the bucket in Oracle Cloud
- Log in to Oracle Cloud: https://cloud.oracle.com
- Go to the Storage section and create a Bucket
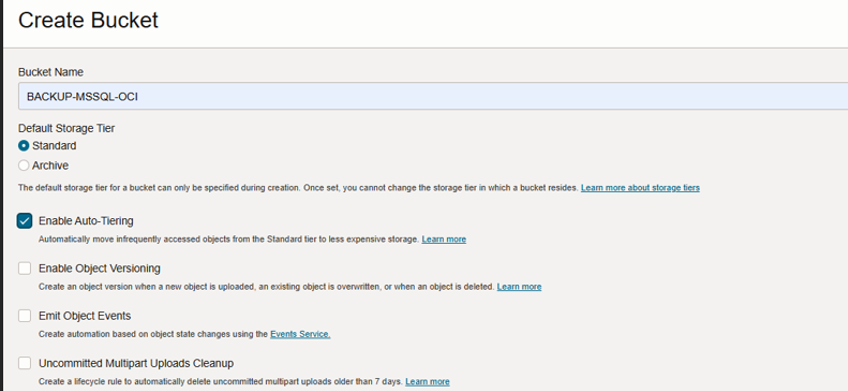
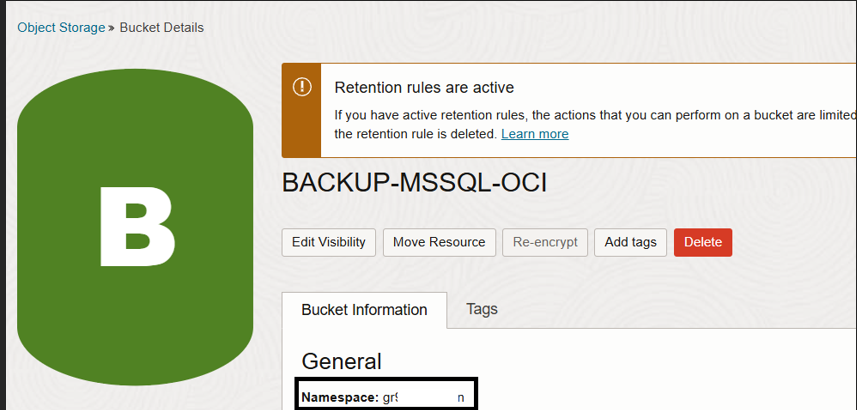
3. Save the generated namespace, as it will be needed for the configuration
Generating the access keys
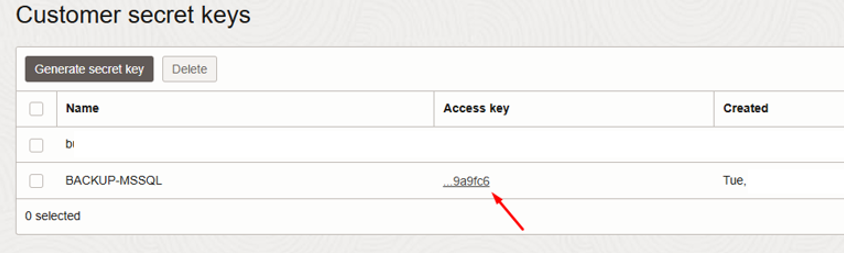
- Log in to Oracle Cloud and create a Secret Key and Access Key
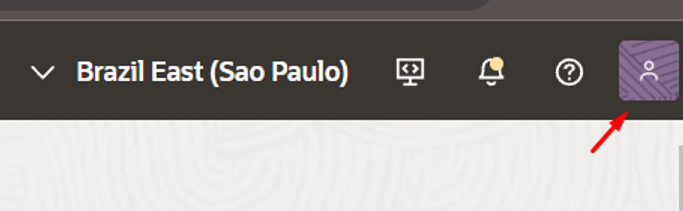
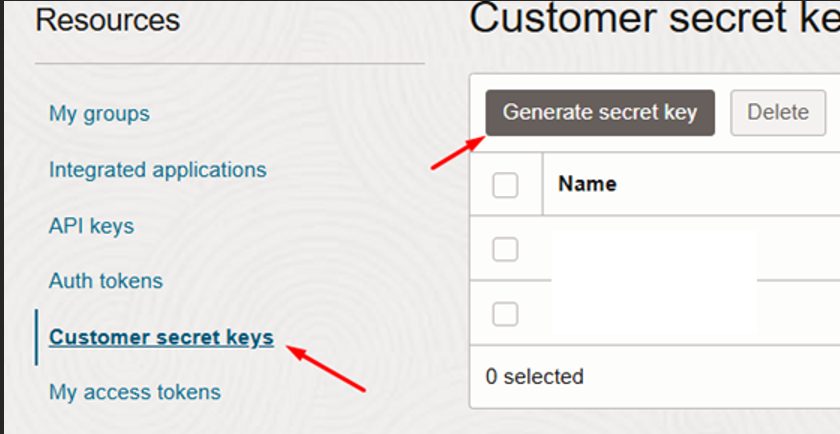
Write down the Secret Key at generation time, as it will not be shown again
Installing and configuring Rclone on Windows
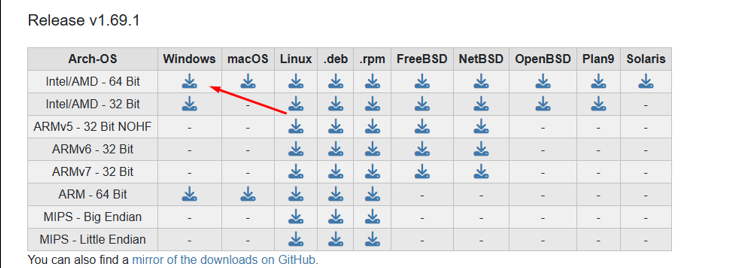
1. Download Rclone
Download the latest Rclone version for Windows: https://rclone.org/downloads/
2. Initial Rclone configuration
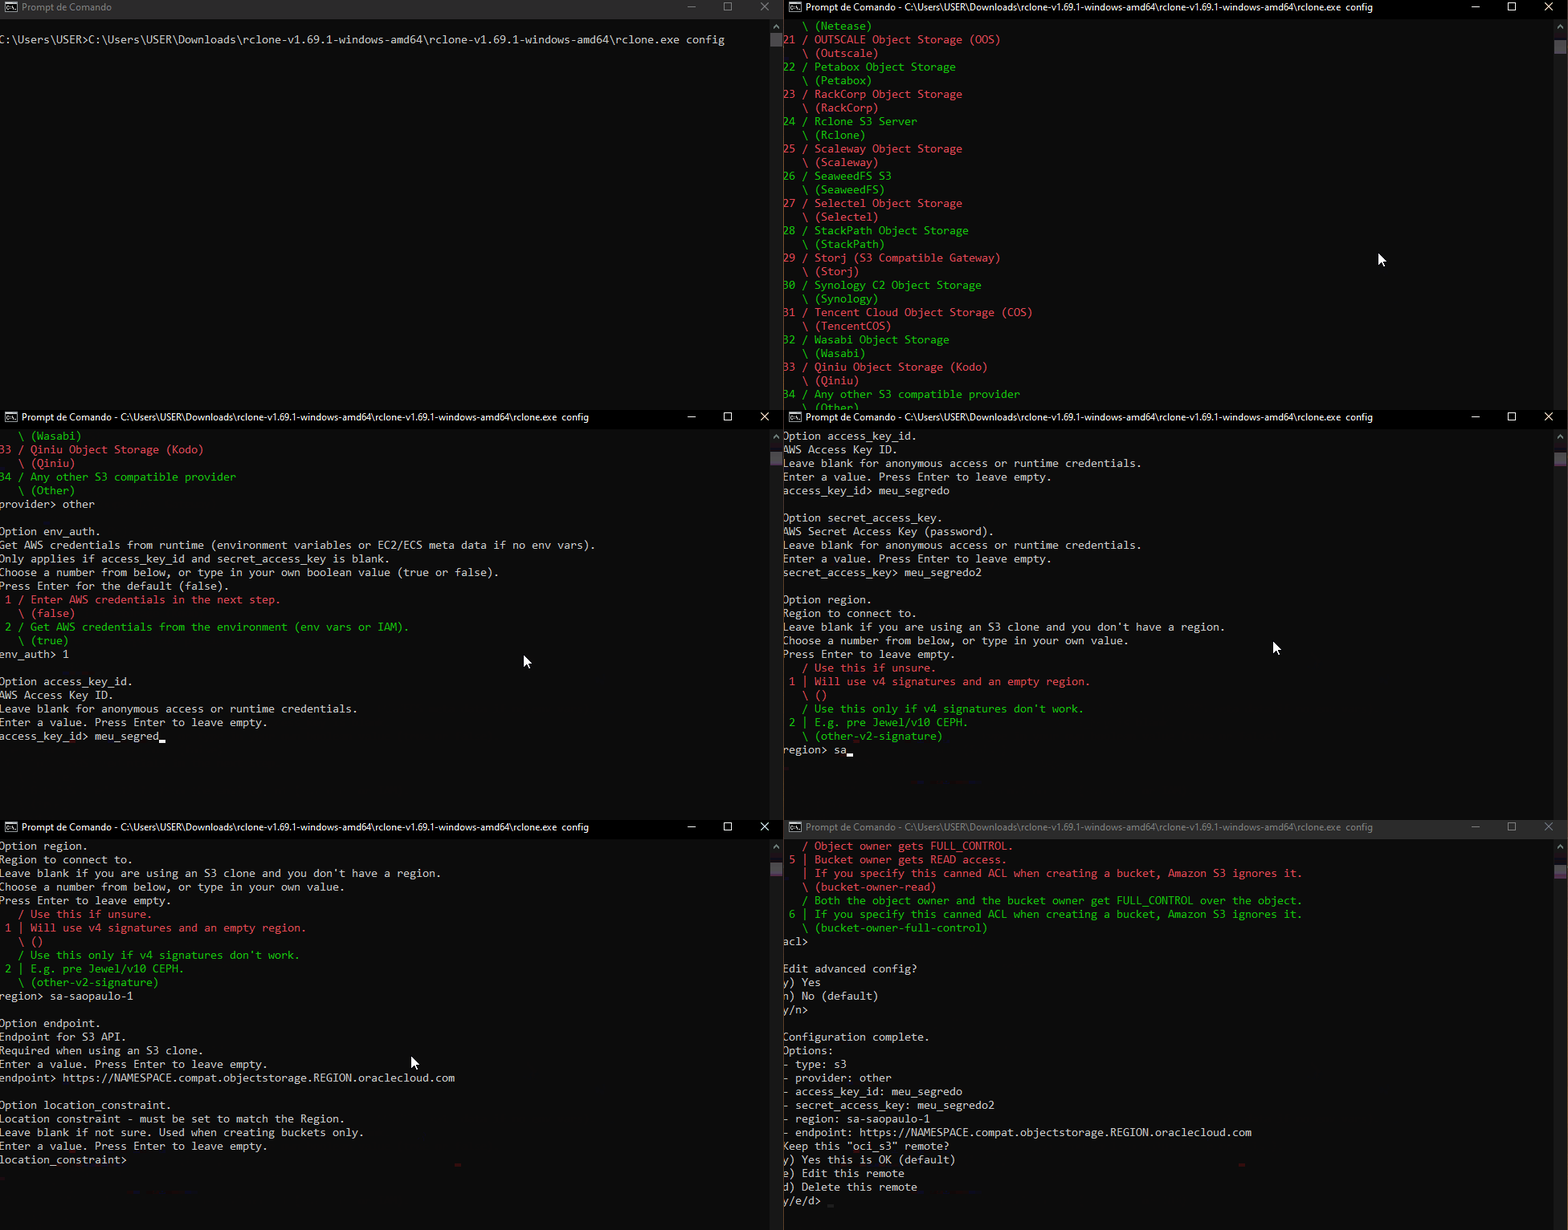
- Open the Command Prompt (CMD)
- Type
rclone.exe configand follow the steps below:- Choose n to create a new configuration
- Name the configuration oci_s3
- Choose
s3as the storage type - Select Other as the provider
- Choose
1to enter the credentials manually - Enter your Access Key and Secret Key
- Provide the region (example:
sa-saopaulo-1) - Set the endpoint in the format:
https://NAMESPACE.compat.objectstorage.REGION.oraclecloud.com - The rest of the configuration can stay at the defaults, just press enter.
3. Test your configuration

Creating the PowerShell script for automatic backup
Now that Rclone is configured, we can create a PowerShell script to automate the backup and the upload to Oracle Cloud.
PowerShell script example:
This script takes as input:
- backupFolder : The location where the backup is stored
- RcloneConfig: Where the Rclone config lives, in case you want to change it.
- bucketName: Path of the bucket to be created
- remote: Which Rclone configuration to use, remember that oci_s3?
- logDir: Log directory.
[Console]::OutputEncoding = [System.Text.Encoding]::UTF8

# Diretório de backup
$backupFolder = "K:\BACKUPS\LOG"
$RcloneConfig = "C:\zabbix\scripts\rclone.conf"

# Nome do bucket na OCI
$bucketName = "BACKUP-MSSQL-OCI/LOG"

# Nome do remote configurado no Rclone
$remote = "oci_s3"

# Diretório de logs
$logDir = "C:\zabbix\scripts\logs"

# Criar diretório de logs se não existir
if (!(Test-Path -Path $logDir)) {
    New-Item -ItemType Directory -Path $logDir | Out-Null
}

# Criar nome do log por dia
$logFile = "$logDir\backup_LOG_$(Get-Date -Format 'yyyyMMdd_HHmm').log"

# Data e hora atual
$date = Get-Date -Format "yyyy-MM-dd HH:mm:ss"
Write-Output "[$date] Iniciando verificação e sincronização..." | Out-File -Append -Encoding utf8 $logFile

# Função para verificar se um arquivo está em uso
function Test-FileInUse {
    param([string]$filePath)
    try {
        $file = [System.IO.File]::Open($filePath, 'Open', 'Read', 'None')
        if ($file) { $file.Close() }
        return $false  # Arquivo não está em uso
    } catch {
        return $true   # Arquivo está em uso
    }
}

# Definir os diretórios do dia atual e do dia anterior
$today = Get-Date -Format 'yyyyMMdd'
$yesterday = (Get-Date).AddDays(-1).ToString('yyyyMMdd')
$todayDir = Join-Path $backupFolder $today
$yesterdayDir = Join-Path $backupFolder $yesterday

# Lista de diretórios válidos
$validDirs = @()
if (Test-Path $todayDir) { $validDirs += $todayDir }
if (Test-Path $yesterdayDir) { $validDirs += $yesterdayDir }

# Criar uma lista de arquivos prontos para upload
$filesToSync = @()
foreach ($dir in $validDirs) {
    Get-ChildItem -Path $dir -Recurse -File | ForEach-Object {
        $filePath = $_.FullName
        if (-not (Test-FileInUse $filePath)) {
            $filesToSync += $filePath
        } else {
            Write-Output "[$date] Ignorando (arquivo ainda em uso): $filePath" | Out-File -Append -Encoding utf8 $logFile
        }
    }
}

# Se houver arquivos prontos, enviar para o OCI
if ($filesToSync.Count -gt 0) {
    Write-Output "[$date] Enviando $( $filesToSync.Count ) arquivos para OCI..." | Out-File -Append -Encoding utf8 $logFile

    # Criar diretório no bucket
    $bucketPathToday = "$remote`:$bucketName/$today"
    $bucketPathYesterday = "$remote`:$bucketName/$yesterday"

    # Enviar arquivos com Rclone
    if (Test-Path $todayDir) {
        & "C:\Program Files\Rclone\rclone.exe" copy "$todayDir" "$bucketPathToday" --config "$RcloneConfig" --progress --transfers 8 --checkers 16 --fast-list --log-file="$logFile" --log-level DEBUG
    }
    if (Test-Path $yesterdayDir) {
        & "C:\Program Files\Rclone\rclone.exe" copy "$yesterdayDir" "$bucketPathYesterday" --config "$RcloneConfig" --progress --transfers 8 --checkers 16 --fast-list --log-file="$logFile" --log-level DEBUG
    }

    Write-Output "[$date] Sincronização concluída!" | Out-File -Append -Encoding utf8 $logFile
} else {
    Write-Output "[$date] Nenhum arquivo disponível para sincronização." | Out-File -Append -Encoding utf8 $logFile
}
Scheduling the backup in SQL Server Agent
- Open SQL Server Management Studio (SSMS)
- Go to SQL Server Agent > Jobs
- Open the backup job that needs the upload step.
- Choose CmdExec as the command type and insert the script above (adjusted to your environment).
- Insert the powershell script call
C:\Windows\System32\WindowsPowerShell\v1.0\powershell.exe -ExecutionPolicy Bypass -File "C:\scripts\furushima_send_oci_log.ps1" - Set an appropriate schedule (daily, hourly, etc.)
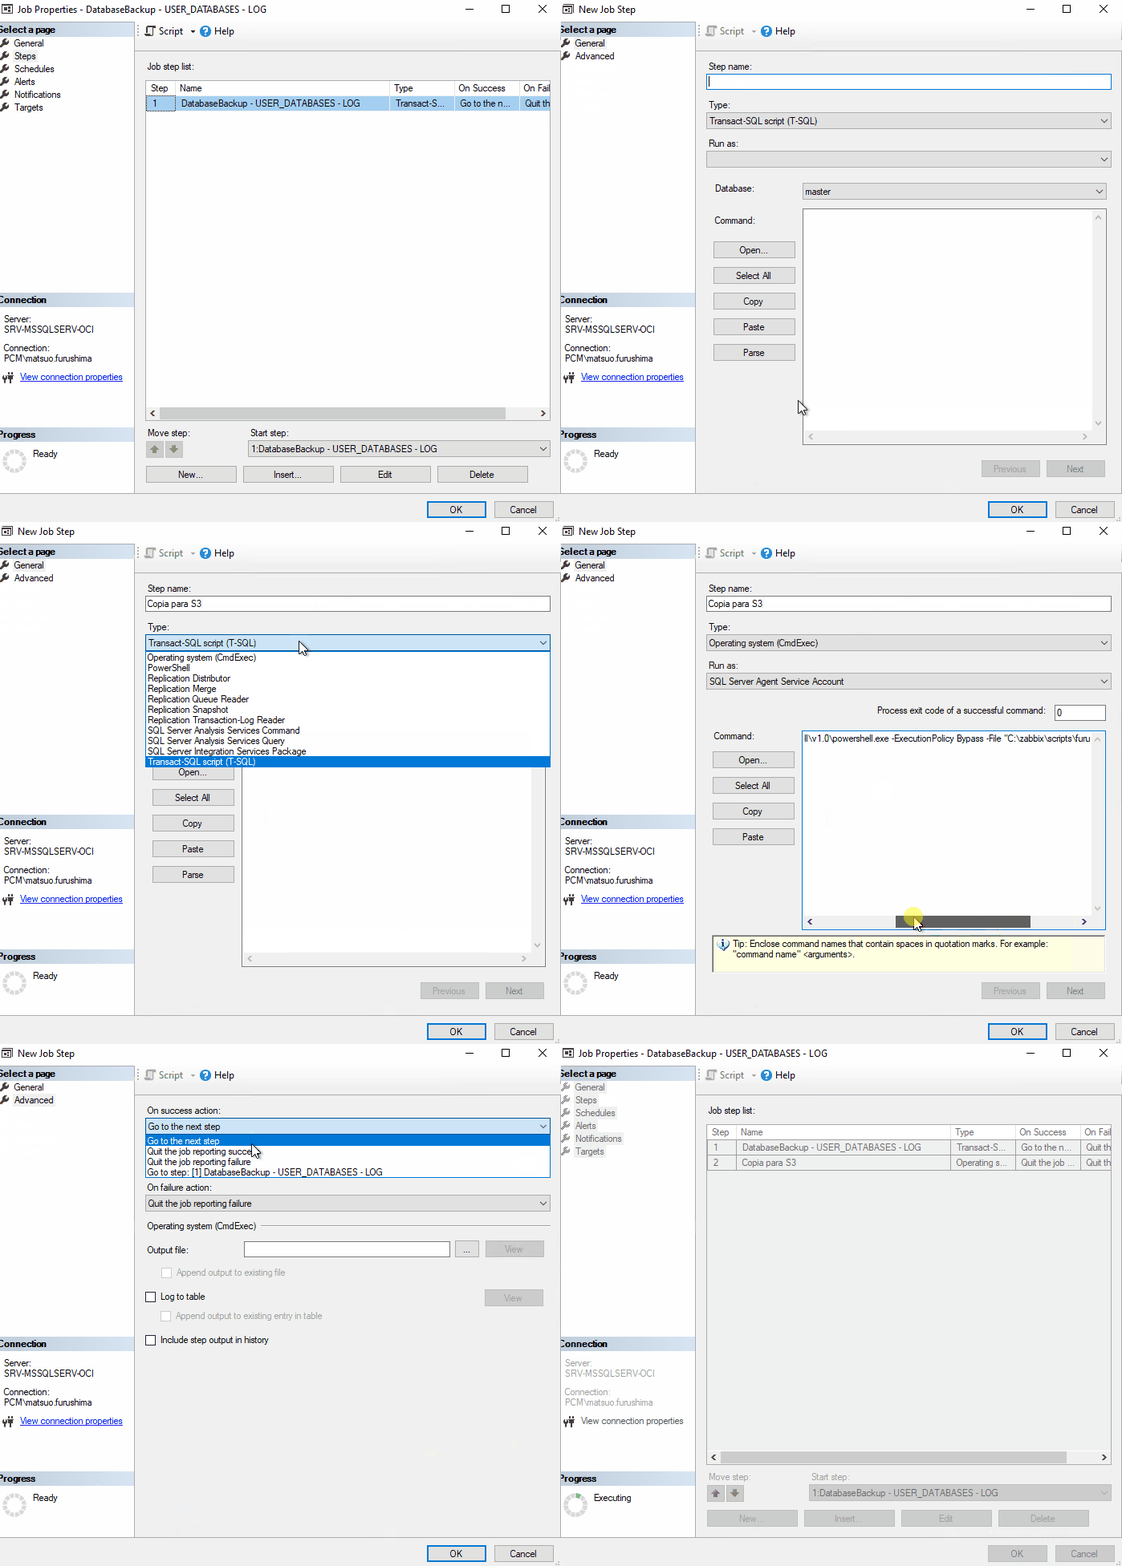
And there we go…. our backups are uploaded to OCI S3, automatically right after the backup! 🙂